how to build a clock that projects time on the wall


This Instructable shows you how to build a projector clock. This device allows you to project time on the wall. Based on a small LCD alarm clock (not too small, instead, you won't be able to project it and to work on it), this is a good way to display current time.
Step 1: Gather the parts and plan


For this Intructable, the main parts you will need:
An LCD clock with a wide screen (mine also display date and temperature)
A magnifying lens (the one used to magnify pictures for example)
A halogen light bulb
A power electric source to feed your light. I used a 12V 60W light bulb, but the power source only provide 6V, dividing by 2 the provided power. A too powerful source would feeding the light would generate too much heat and burn your LCD display.
A fan to evacuate heat generated by the light in the box
A box that you can easily work out (maybe avoid wood since heat could cause it to burn
Other: electric wires, screws, duck tape, glue and welding iron
Your first and most delicate work is to modify the LCD
Step 2: Modify the display


Usually, LCD displays used in small clock are setup to be shown from the front. Our device needs to have the light source from behind, in transparence. So we need to modify the screen to let the light go through the display. However, the same could be used in reflection but in this case, the luminosity would be lower:
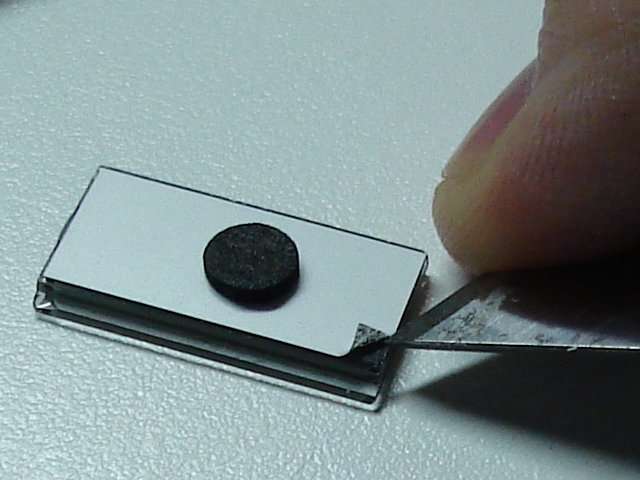
A typical LCD display is composed as seen on the picture.
The glass screen is placed between 2 polarized filters that orientates the light and allows for the time to be display in black on white.
To let the light go through the display, you will first need to remove the reflecting bottom of the screen. To get an inverted display (white on black), you will then need to remove the second polarized filtered and turn it by 90° clockwork or counter-clockwork, no mater. These two steps are quite difficult since the filter and reflecting surface are strongly stick together and very thin. When removing the filter from the screen, be careful not to damage them.
Step 3: Modify the clock


In order to change the time from outside the final box, you will need to modify the clock so that controls are accessible. Wire some cables to replace the existing button on the circuit board. Weld the button respecting the existing layout
Step 4: Setting the optic


The principle is to experiment the setting of your optic depending on the magnifying lens you have found. Take your light source and fix it firmly. Install a transparent object and try to project it at the distance you think your clock will be installed. You will find the distance you need from the screen to the lens in the final setup.
Be careful, your image will be inverted, so you will also need to reverse the LCD screen bottom-up and left to right.
Chose a light bulb that will cover the full width of the screen at the chosen distance. This could be a problem with some much focused light.
After finding the right distance, install the LCD screen and lens on supports to maintain them. I built an adjustable rail to be able to modify the focus depending on the distance to the wall to have a clear image. Of course you can build a more advance version of the optic, with a zoom but I am not an expert.
Step 5: Installing the devices in the box


Once your rail and optic are ready, install them into the box. Drill a hole to let the light out of the box. Drill two other holes for the fresh air to come in and the hot one to go out. Try as much as possible to have a clear flow of air in the box by forcing the air to flow on the LCD and then on the light bulb. Always let the flow go from lower to higher temperature so that hot air from the bulb in our case does not heat the LCD.
Step 6: Testing


Your device should be complete now and your can test is. Be careful with the light bulb and your power source. Try and project your clock on walls. Be sure to stay parallel to it if you want your image to have the right shape. Depending on the power of the source, you could be able to project time in different ambient light conditions.
________________________________________________________________
 The first time I saw a projection clock (a
friend had shown me his projection clock, which he used to project the time on
his bedroom ceiling), I knew I could easily build my own by converting a watch
with an LCD display.
The first time I saw a projection clock (a
friend had shown me his projection clock, which he used to project the time on
his bedroom ceiling), I knew I could easily build my own by converting a watch
with an LCD display.
 I bought a very very ugly watch in a dollar
store. So ugly that it really is unwatchable ;) At least it's easy to
disassemble...
I bought a very very ugly watch in a dollar
store. So ugly that it really is unwatchable ;) At least it's easy to
disassemble...
___________________________________________________________
 This analog projection clock is housed in a see-through acrylic shell which shows off the unique optics and mechanical components that generate the time in a classic analog face, including a fully-animated sweeping second hand and Arabic numerals at the cardinal points to create a crisp, clear wall clock made of pure light. Depending on the proximity of the projection box placement to the wall the bright clock face image can be up to 3 feet in diameter. A 80-watt halogen lamps bulb generates 700 candlepower to create a crisp image with sharply defined numerals and edges on any vertical flat surface. The size of the projection is of course based on how far the clock is placed from the wall. There’s also controls for tweaking both the focus and the brightness. The sturdy projection box is made of durable injection-molded acrylic that is completely transparent, revealing the internal lamp, mirrors, and lens mechanism that generates the light projection. Measures:18x18x8cm. Note:220V power supply.

________________________________________________________________
Projection clock
Contents: The idea | Disassembling the watch | White on black LCD | Reinstalling the LCD | Buttons | Light and lens | Pictures
The idea
Disassembling the
watch
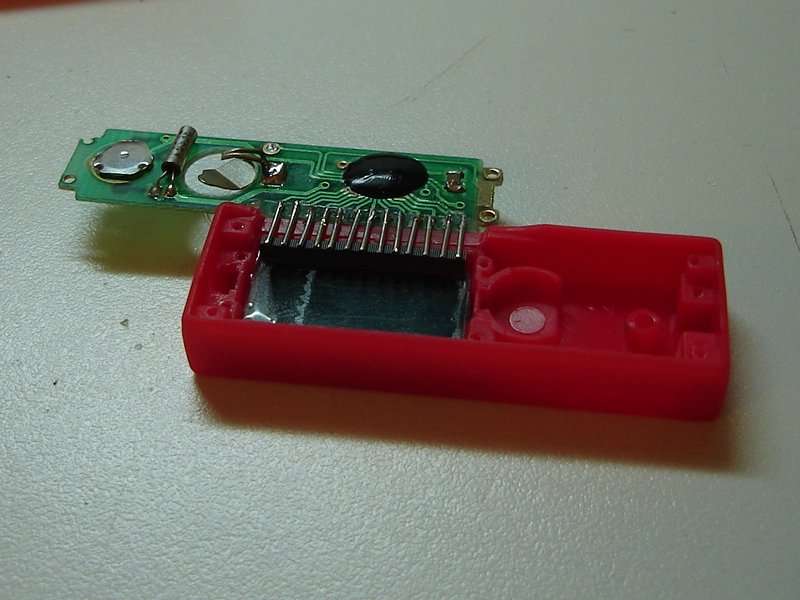
To remove the pcb, just remove the screws:


The LCD is mounted over the PCB. A conductive rubber bands holds the pcb in place and conducts electricity between the LCD and the PCB. Just pull on the LCD and it will come off easily.


The LCD is mounted over the PCB. A conductive rubber bands holds the pcb in place and conducts electricity between the LCD and the PCB. Just pull on the LCD and it will come off easily.


White on black LCD
The LCD is not usable as-is. To be usable, (1) light
has to be able to pass through it and (2) the display has to
be black on white (transparent on opaque).
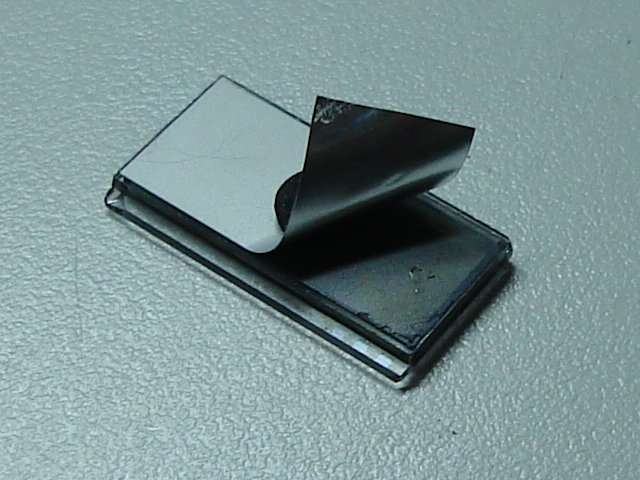
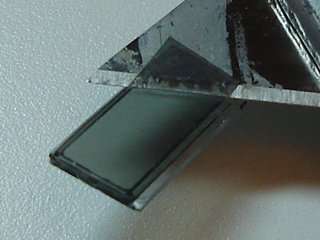
Remove the reflecting background sticker to let the light pass through the LCD:


To get a transparent-on-opaque display, reverse the polarizing filter located on the LCD front side:


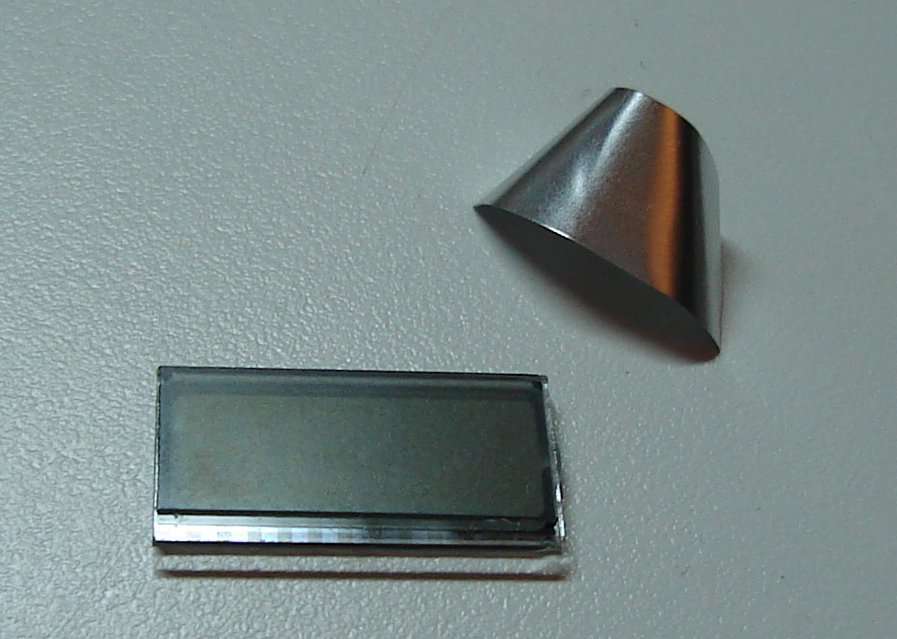
See the difference? Left picture: before, Right picure: after.

For more information on LCD technology, read the Wikipedia LCD page.
Remove the reflecting background sticker to let the light pass through the LCD:
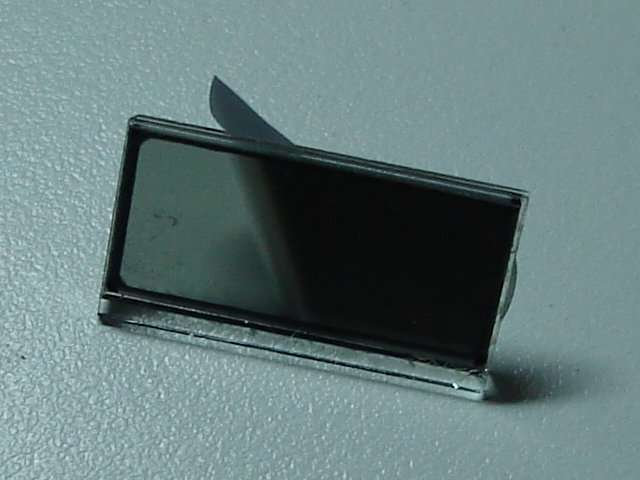
To get a transparent-on-opaque display, reverse the polarizing filter located on the LCD front side:
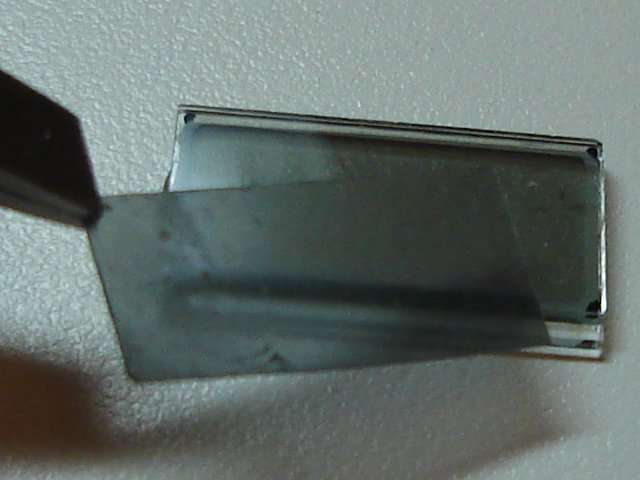
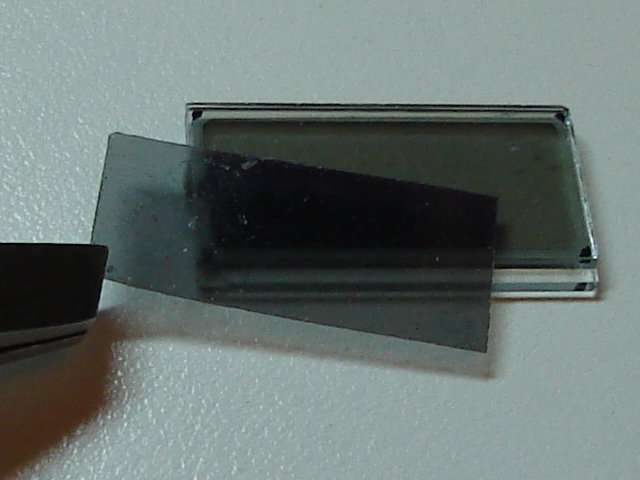
See the difference? Left picture: before, Right picure: after.

For more information on LCD technology, read the Wikipedia LCD page.
Reinstalling the
LCD
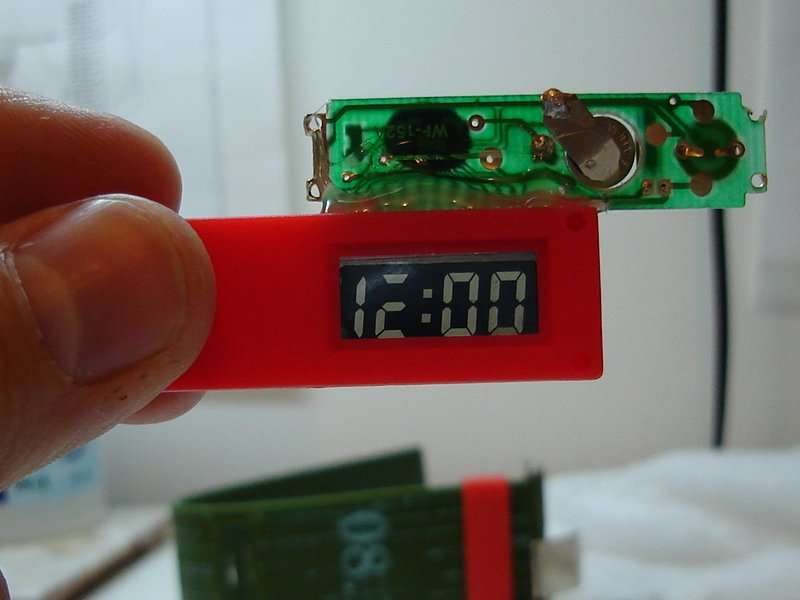
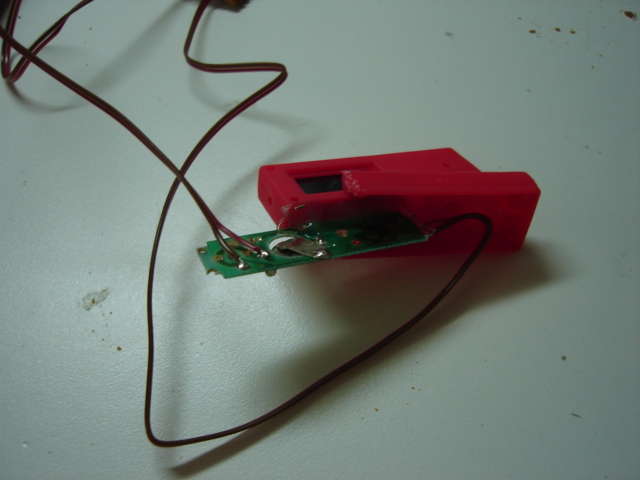
In order to prevent the PCB from blocking the light, I extended
the contacts on the PCB with small pieces of wire:


A sufficient pressure must be applied to obtain a good contact between the wires and the conductive rubber band. Otherwise, some segments may not work correctly:


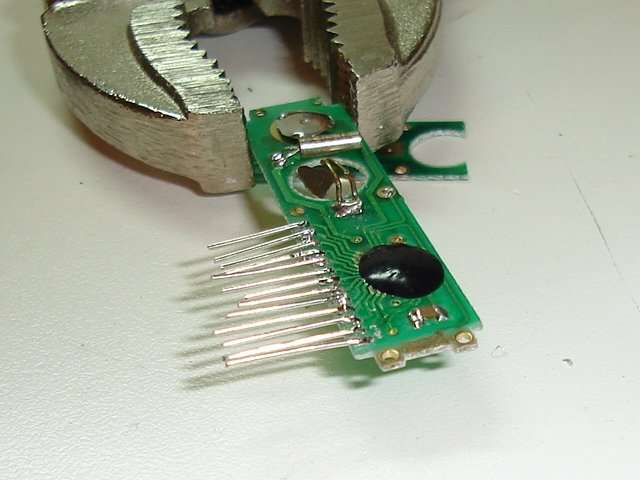
A sufficient pressure must be applied to obtain a good contact between the wires and the conductive rubber band. Otherwise, some segments may not work correctly:
Buttons
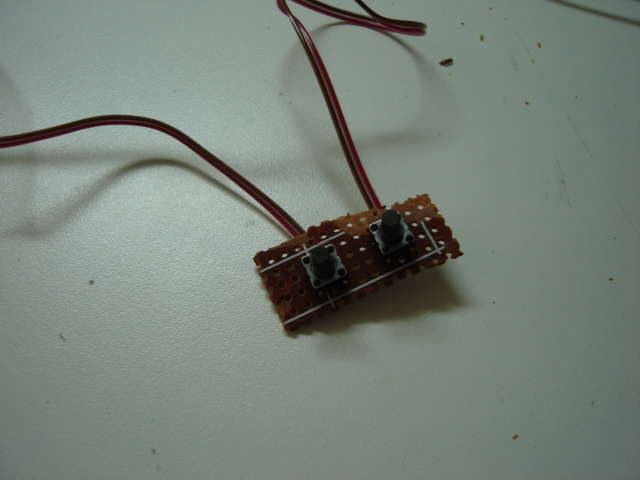
In order to be able to set the time easily, I installed two
buttons on a small PCB. Next, I connected the wires on the watch PCB where the
original buttons used to be:


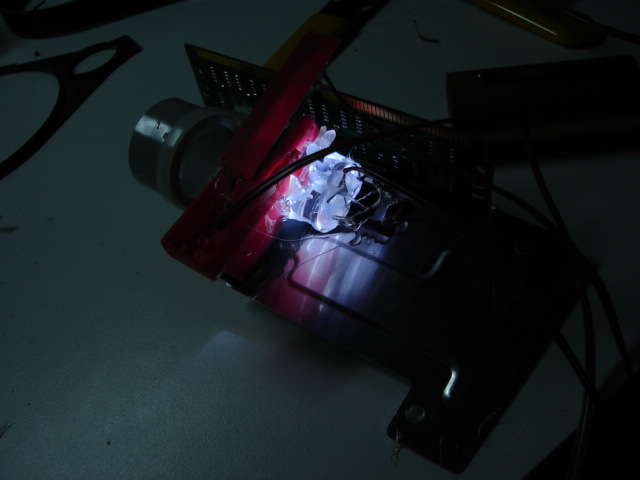
Light and lens
I use two high intensity white leds as a backlight. The backlight
has to be very bright. A magnifier is used to focus the light on the wall. The
focus is adjusted by moving the magnifier.


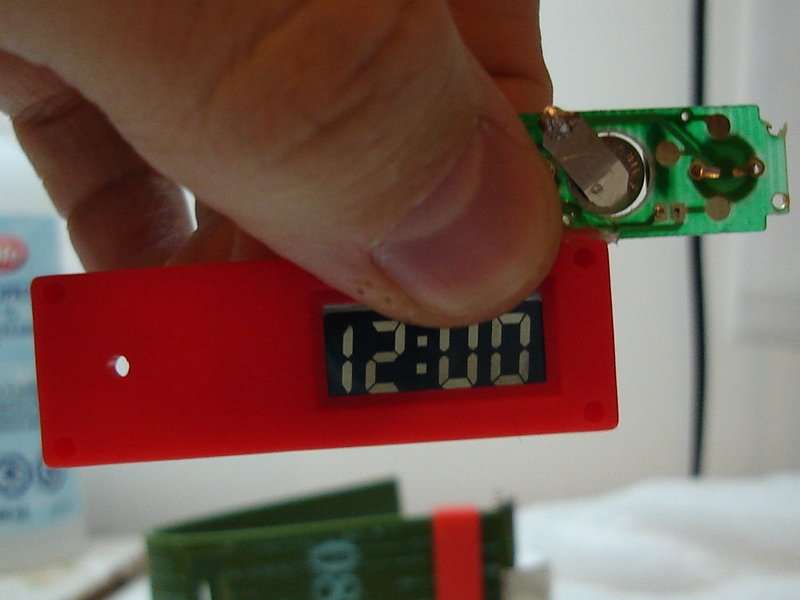
Here is how the LCD must be oriented if you want the time to be projected in the correct orientation:


Here is how the LCD must be oriented if you want the time to be projected in the correct orientation:

Pictures
My clock is not very nice to look at, but at least is works. It is
build from various pieces of hardware glued together with hot glue.

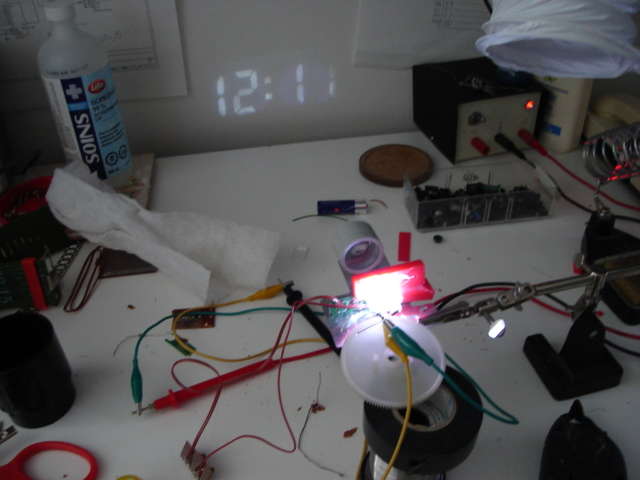
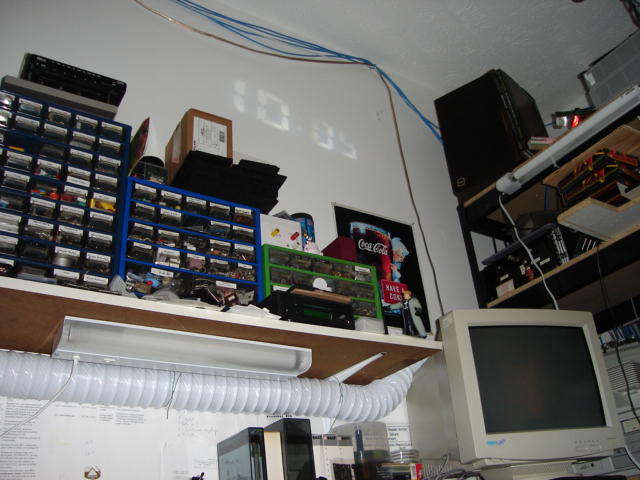
The clock in action, projecting the time on my lab wall:

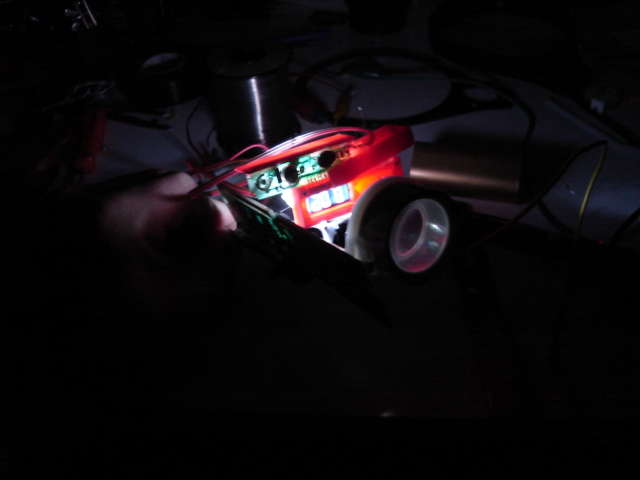
The clock in darkness:


The clock in action, projecting the time on my lab wall:
The clock in darkness:

ANALOG PROJECTION CLOCK


Comments